

Most people troubleshoot a car audio system from the wrong end. They look at the amplifier first, then the speakers, then the signal chain — swapping components, adjusting gain structure, chasing a problem that was never in any of those places. The actual issue is almost always further back, in the part of the system nobody thinks to question: the electrical supply.
A car’s 12V system was engineered around the factory load. It runs the ignition, the lighting, the climate control, and the stock infotainment. That is the entire design brief. When a high-powered audio installation gets added into that equation — an amplifier drawing several hundred watts, a subwoofer stage demanding short violent bursts of current with every bass note — the system is being asked to do something it was never sized for. The result is voltage drop, and voltage drop is the single most common reason a car audio system underperforms.
What Is Actually Happening During Voltage Drop
Voltage drop is not a dramatic event. It does not blow fuses or trip protection circuits. It happens quietly, in microseconds, every time the amplifier encounters a transient — a kick drum hit, a low bass note, a sudden dynamic peak in the music. In that fraction of a second, the amplifier pulls more current than the alternator and battery can instantly supply. The voltage on the power line dips, the amplifier operates below its rated supply voltage, and the output collapses slightly. The sound compresses. The bass softens. The system feels smaller than it should.
The dimming headlights that car audio enthusiasts often notice are just the visible version of the same problem. Every light in the car, every electronic component on that same circuit, is experiencing the same voltage sag that the amplifier is. The headlights just happen to make it visible.
What makes this particularly difficult to diagnose is that it is dynamic. A system can measure perfectly at rest, pass every static check, and still suffer significant voltage drop under musical load because the measurements were taken when the amplifier was not actually demanding anything. The problem only exists in the moments between the measurements.
Why the Battery and Alternator Cannot Solve It Alone
The instinct when facing a power problem is to upgrade the source — a higher-output alternator, a second battery, bigger cable runs. These upgrades matter and in some installations they are genuinely necessary. But they address sustained power delivery, not instantaneous response. An alternator produces current continuously and regulates voltage over time. It is not designed to react to a 10-millisecond demand spike from an amplifier transient, because nothing in its original design brief required that.
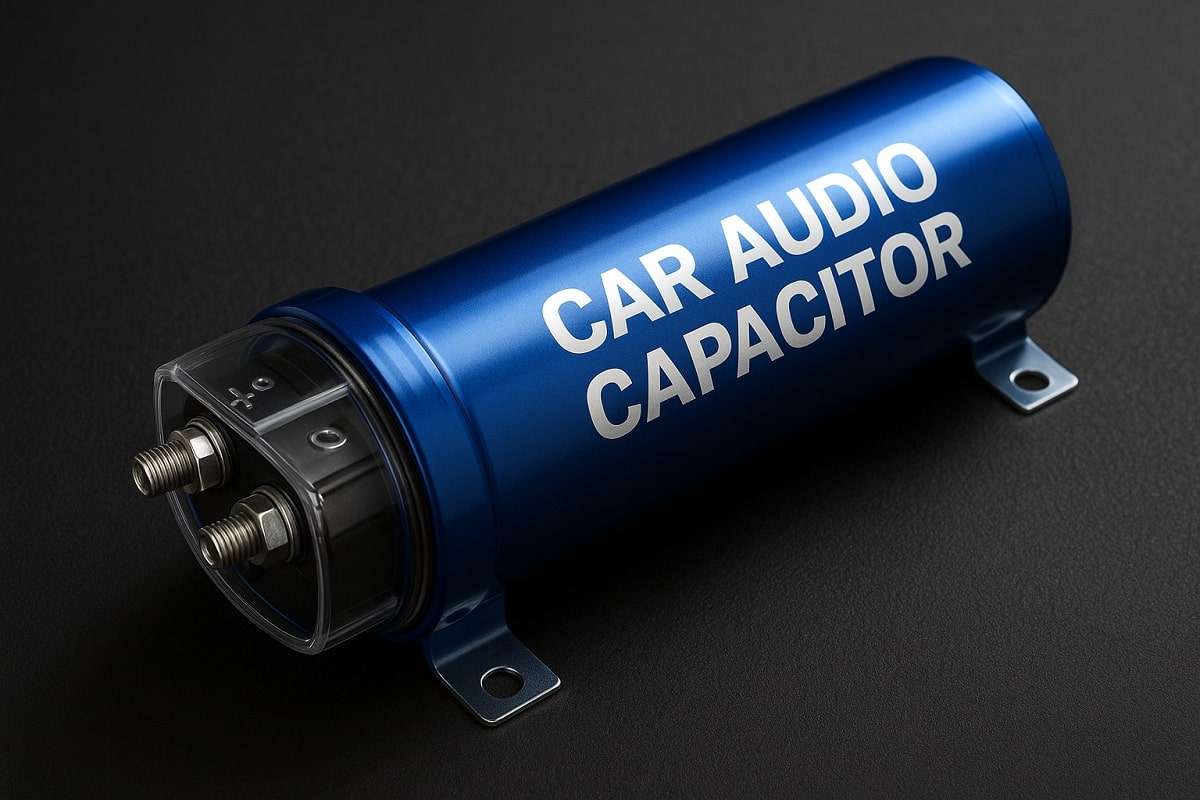
This is the gap a car audio capacitor fills. It stores charge locally, right next to the amplifier, and releases it the moment demand spikes — faster than any battery or alternator can respond. The main supply refills the capacitor between peaks, so the cycle continues cleanly. The amplifier sees stable voltage throughout, and the voltage drop that was compressing the sound simply stops happening.
Supercapacitor vs Traditional Stiffening Capacitor
For years the standard recommendation was a stiffening capacitor — a large electrolytic unit, typically in the 1 to 4 farad range, wired near the amplifier. These do help, but they have a ceiling that becomes apparent in demanding builds.
| Factors | Traditional Stiffening Cap | Supercapacitor Module |
| Typical capacitance | 1 – 4 Farads | 58F – 500F+ (effective discharge far higher) |
| ESR | Moderate to high | Very low (sub-milliohm) |
| Discharge speed | Slower | Near-instantaneous |
| Physical size for equivalent performance | Large | Compact |
| Cycle life | Limited | 500,000+ cycles |
The ESR figure is the critical one. A capacitor with high internal resistance cannot release current fast enough to buffer a sharp transient. It charges and discharges, but not at the speed the amplifier actually needs. A supercapacitor module with genuinely low ESR — the kind that shows up in verified datasheets from manufacturers like Maxwell or SAMWHA — responds fast enough that the voltage rail barely moves under load.
This is also where component authenticity becomes a real concern. The capacitor market, particularly in the car audio segment, has a documented problem with counterfeit components that list specifications they cannot meet. A fake stiffening cap or an unverified supercapacitor module will have higher actual ESR than stated, lower effective capacitance, and a service life that bears no relation to the datasheet. Purchasing from a supplier that maintains traceable, tested inventory with verifiable lot codes is not overcaution — it is the difference between a component that works and one that gives the appearance of working while changing nothing.
Placement and Installation
Where the capacitor sits in the circuit matters as much as what it is. The entire principle depends on having stored energy as close to the point of demand as possible. A capacitor installed far from the amplifier, with a long cable run between them, loses much of its effectiveness because that cable adds resistance back into the path.
The correct placement is on the amplifier’s power wire, between the amplifier’s positive terminal and the point where the power cable runs back toward the battery. As close to the amplifier as the physical installation allows. In builds with multiple amplifiers, a capacitor at each one outperforms a single large unit located centrally and shared across a longer wire run.
Getting the Specification Right
Two numbers determine whether a supercapacitor module is right for a given installation.
The voltage rating needs to comfortably exceed the supply voltage. On a healthy car electrical system the charging voltage sits between 13.5 and 14.4 volts. A 16V rated supercapacitor module gives clean headroom above that range without operating the component near its ceiling. Running any capacitor close to its voltage limit accelerates degradation and introduces failure risk over time.
Capacitance selection scales with the amplifier’s peak current demand, which is roughly proportional to its power rating. For most installations in the 500 to 1500 watt range, a mid-spec module handles the buffering requirement well. Larger builds or multiple amplifier stages benefit from higher capacitance, and some builders wire two modules in parallel to double effective capacitance while keeping the voltage rating unchanged.
If the correct specification for a specific build is not immediately obvious, it is worth talking through the requirements before purchasing. The calculation is straightforward given the amplifier specs, but getting it right the first time saves the cost and effort of a component that is either over- or under-spec for the job.
A car audio system performs at the level its electrical supply allows. Upgrading amplifiers and speakers into a power supply that cannot support them is a diminishing return. Fix the supply first, and everything downstream of it immediately has more to work with.
